IRS POS Introduction
Date : 17.04.2018
Home – Item Master
- Home – Item Master
- Setup the master item with Product Information.
- This page allows users to maintain and manage Product Information.

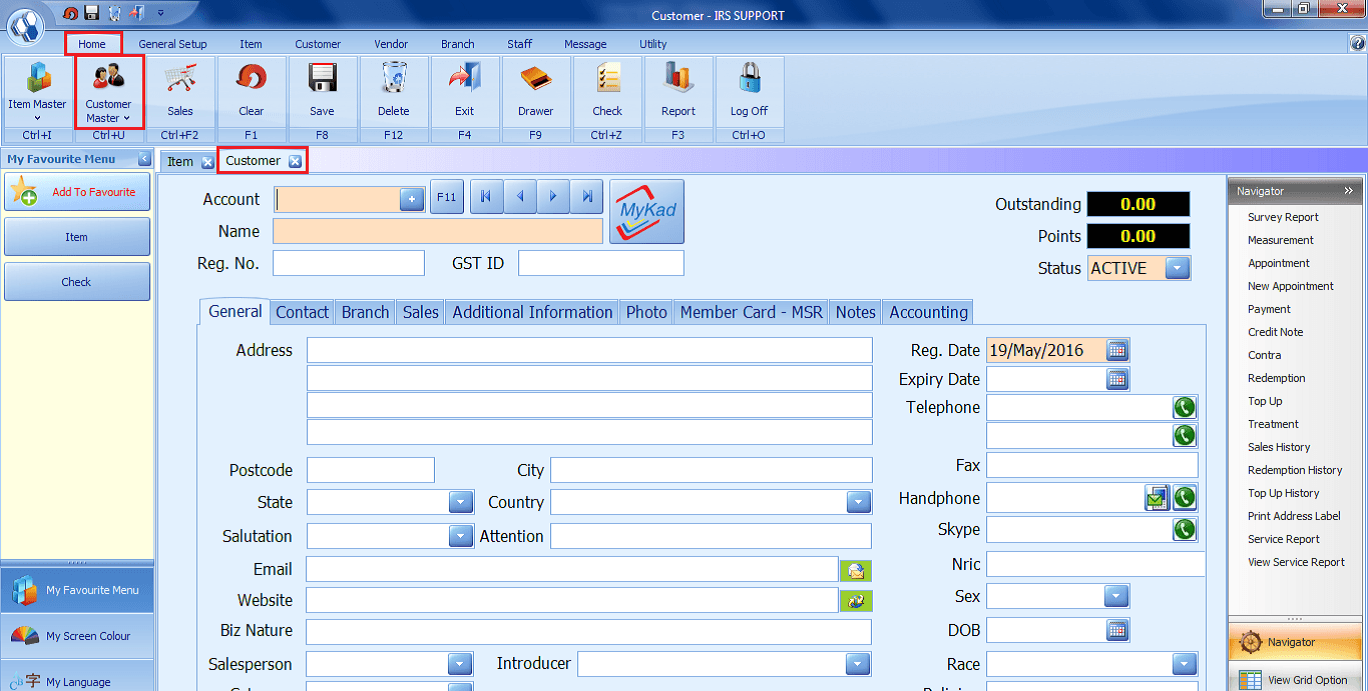
Home – Customer Master
- Setup the master customer with customer Information.
- This page allows users to maintain and manage Customer Information.
Home – Sales
- Click to Perform Sales.
- System enables “Subtotal” and “Last Bill” Sessions.

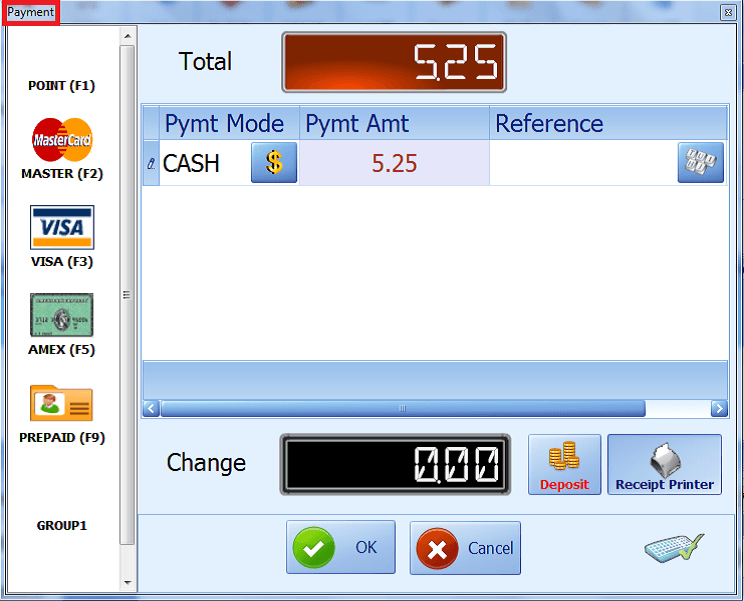
Home – Subtotal
- Click to make payment.
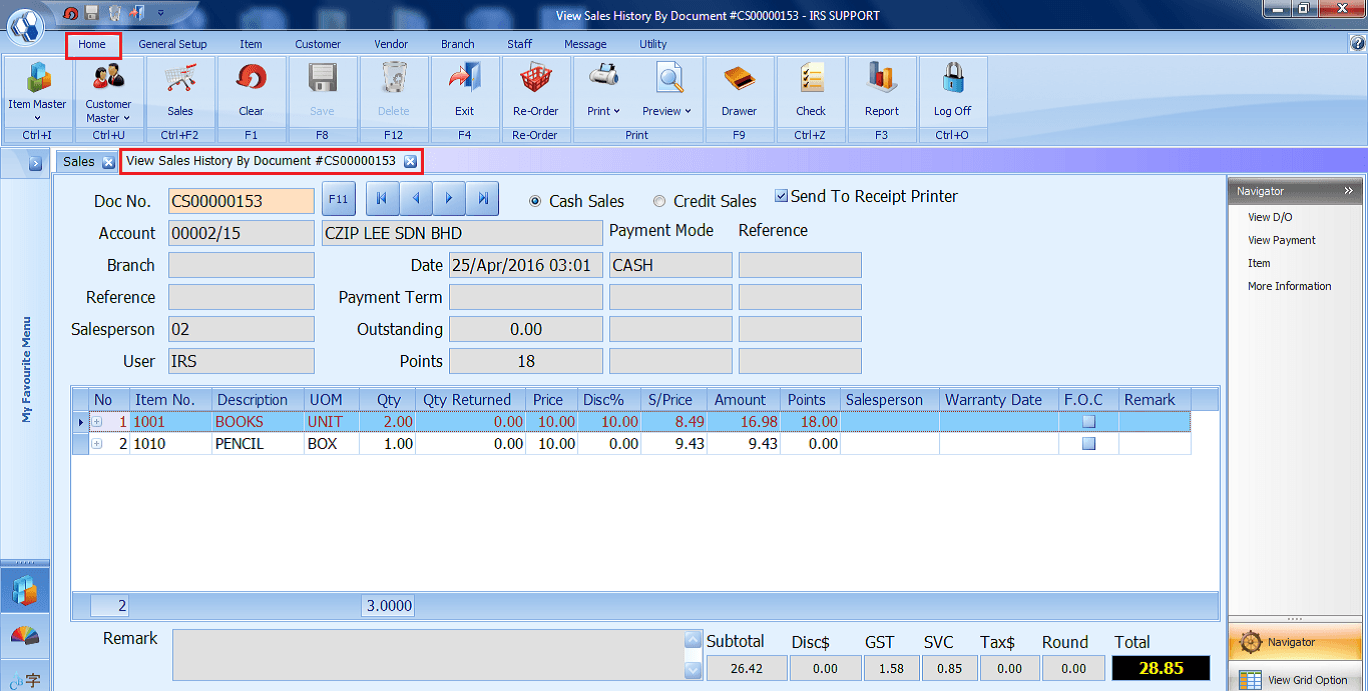
Home – Last Bill
- Click to View Sales History through
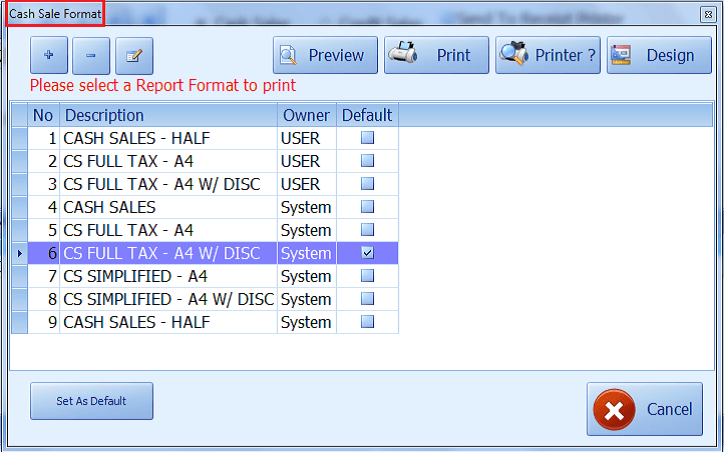
Home – Print
- Click Print send the report to the printer.

Home – Preview
- Click Preview to view or select the report format to print.

Home – Clear
- Click to Clear the Information Entered on the selected screen.
Home – Save
- Click to Save the information entered on the selected screen.
Home – Delete
- Click to Delete the information entered on the selected screen.
Home – Exit
- Click to Exit from the selected screen.
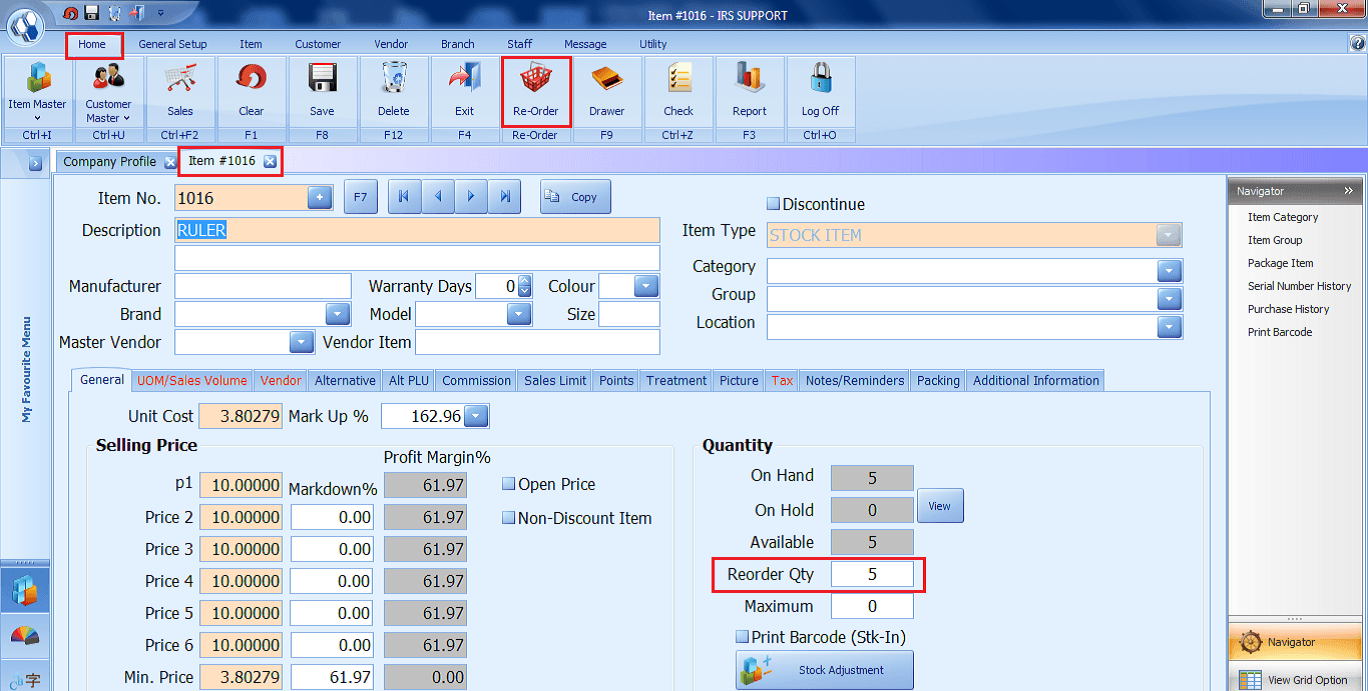
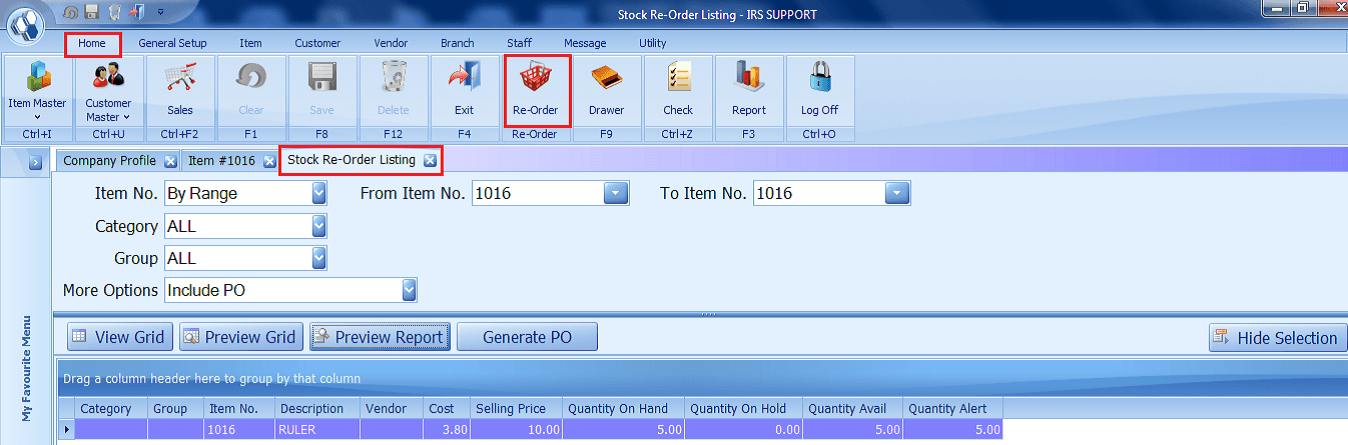
Home – Re-Order
- Click to generate Stock Re-Order Listing.
Home – Drawer
- Click on Open Cash Drawer.
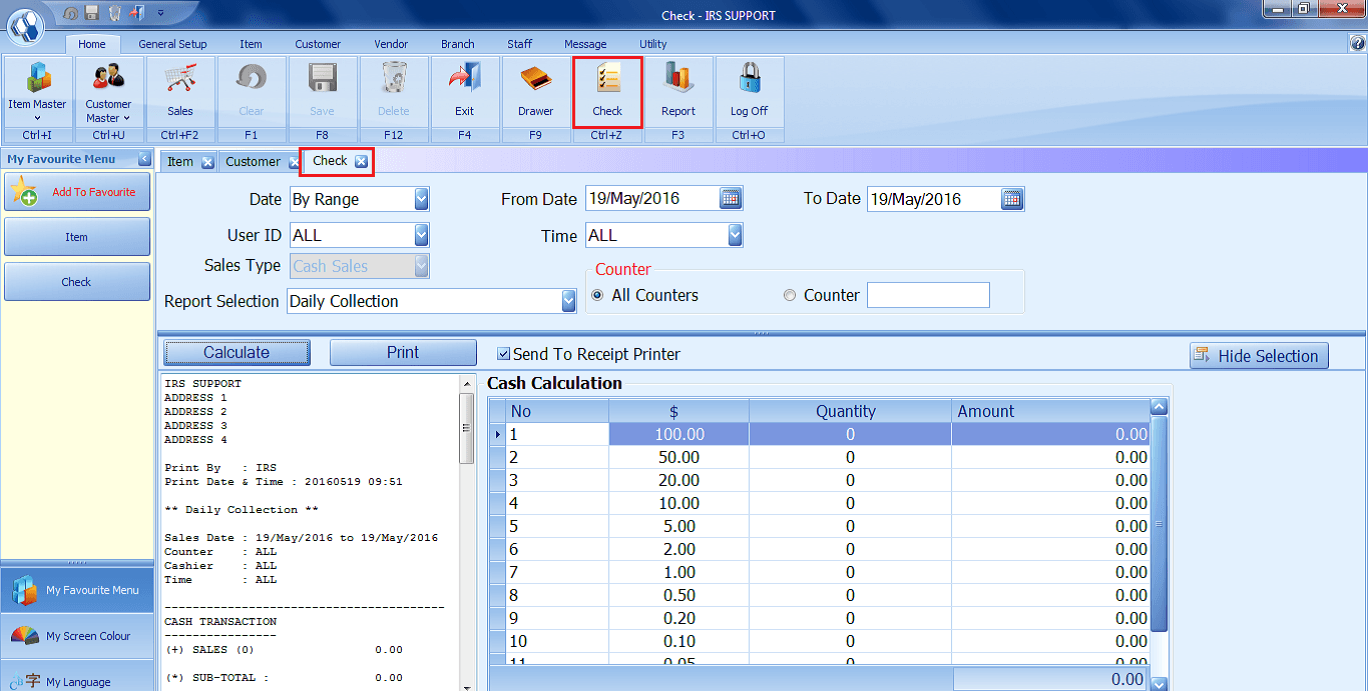
Home – Check
- Click to Check Daily Closing Stock.
- Cash Note Quantity and Amount is recorded in Cash Calculation section.
- Users will be able to calculate and generate Daily Collection, Daily Product Sales and Tax Summary Report.
- Note: This is only available for “Cash Sales” type.
Home – Report
- Click to generate IRS POS Reports.
- Reports are categorized by Item, Sales, Discount, Customer, Vendor, Analysis, Staff, Tax, and others.

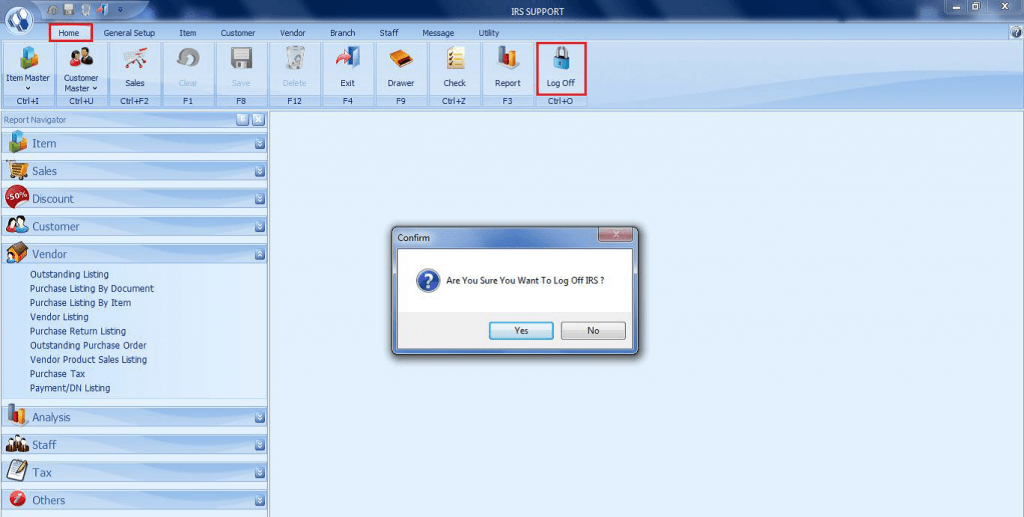
Home – Log Off
- Click “Yes” to log off from the system.
Share Link: https://www.irs-software.com/faqwd/irs-pos-introduction/
Was this answer helpful ?
Yes
/
No
BACK TO BLOG PAGE